Summer is campers’ preferred season – parks are packed, there is plenty of daylight, playful alternatives for kids, and dogs and pets also love it.
However, all of this joy comes with a challenge – boiling weather! So a natural question comes in mind – How to air condition a tent?
There are multiple ways to air condition a tent, such as:
Using portable ac units
Using a window AC equipment with an adequate tent
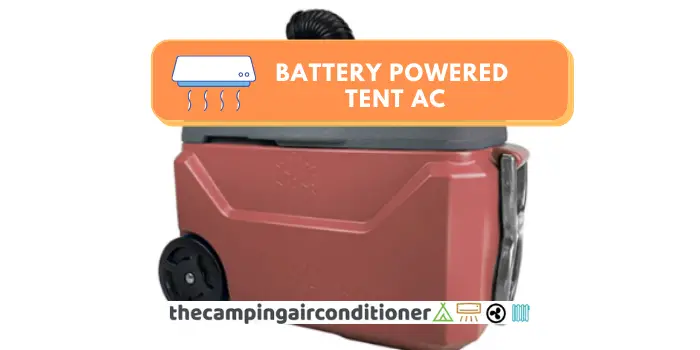
Using battery-powered devices if you are camping off-grid
DIY Tent AC
We note that you will also probably need other camping gear and accessories to improve the performance of your preferred option and AC device.
Let’s go into detail and further explain how to use each air conditioning solution for your tent below.
By the way, The Camping Air Conditioner is sponsored by readers. When you buy through one of our links, we may earn an affiliate commission at no extra cost to you.
How to air condition a tent?
To facilitate your understanding and implementation, we have prepared a detailed guide. In summary, we have the following steps:
Step 1 – Check which equipment size/output you need (BTU)
Step 2 – Choose the equipment suits your camping conditions better.
Step 3 – Prepare your tent for your AC device
Step 4 – Insulate your tent
Step 5 – Turn on the equipment and enjoy the cold breeze
Step 1 - Check which equipment size/output you need (BTU)
The AC size or power output required will depend on many factors, such as:
Tent size
Tent insulation
Exposure to the sun
Weather conditions
And many others.
According to our studies and experience, you should be fine with the following ratios:
Tents with adequate insulation will need at least 4 BTU per cubic feet.
Tents without proper insulation will require at least 5 BTU per cubic feet (25% extra power required)
If your tent is exposed to the sunlight and has no insulation, we recommend at least 6 BTU per cubic feet (50% extra power required).
If you want to understand further about these numbers, we recommend reading this article. In summary, we created the table below as a guidance.
Size
Volume (cubic feet)
Insulated Tent
No insulation (1.25X)
No insulation and sun exposure (1.5X)
Small Tents
200
800 BTU
1000 BTU
1200 BTU
Medium Tents
350
1400 BTU
1750 BTU
2100 BTU
Large Tents
700
2800 BTU
2500 BTU
4200 BTU
Family Tents
1250
5000 BTU
6250 BTU
7500 BTU
Step 2 - Choose which equipment suits your needs better
Now that you know how many BTUs are required to refrigerate your tent, you need to choose the most suitable option for you. Apart from the cooling outputs, you will also need to consider:
Power input (battery-powered x electricity-powered x DIY option)
Weight, size, and portability
Price
There is no better or worse option, but the ones that will suit you the most.
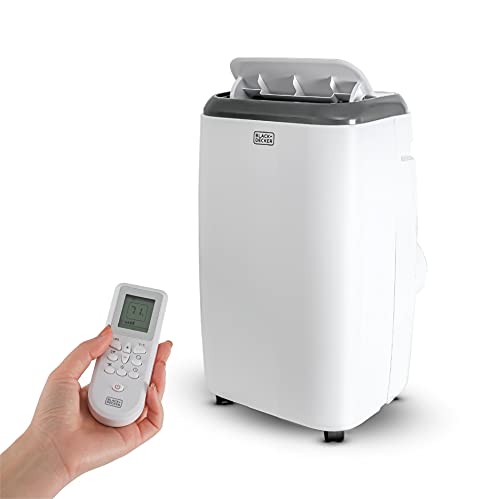
For example, are you camping in a big group with electrical infrastructure near your tent? We recommend going for a window AC unit.
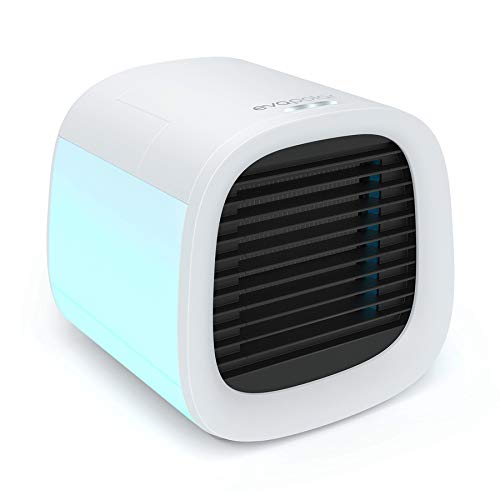
Are you solo-camping or camping in a remote location? A compact cooling device will suit you well, such as Evapolar Evachill. Overall, we recommend the following options (check comparison table below):
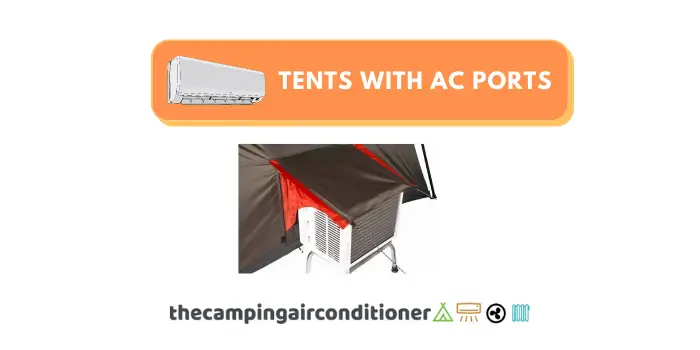
If you have chosen a window AC unit, we recommend picking up a tent with an AC port. We have reviewed multiple options in the market, and WhiteDuck Avalon is our preferred model, offering plenty of space and comfort (but at a significant investment – around $900).
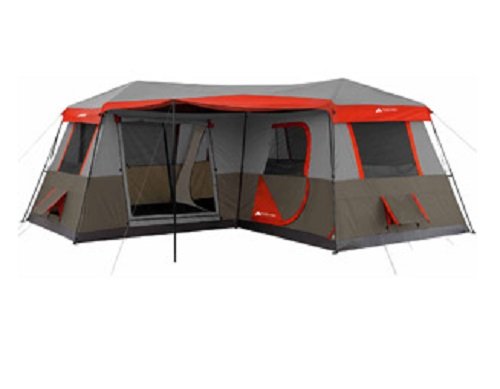
If you are on a budget or simply do not want to invest in a luxurious model, you can check some alternatives here, but our preferred family-camping budget-friendly model is Ozark Trail 16×16-Feet 12-Person Instant Tent
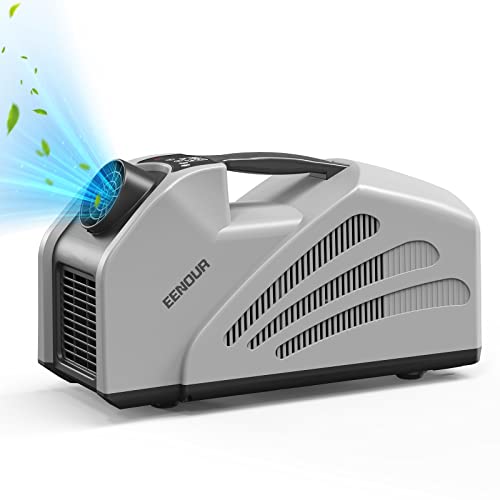
If you have picked a portable AC unit, battery-powered device or DIY option, make sure that there is enough space for the equipment inside your tent. Some tips that you should consider before pitching it:
Choose a smaller tent (you will have less air to be refrigerated)
Choose the best location to pitch your tent and avoid excessive sun exposure – check our tent uv protection guide)
Set your tent up at the right time (if possible, avoid leaving your tent assembled during the day – hot air might get trapped)
Watch for tent ventilation – pitch your tent in an open area with plenty of ventilation and tree shade.
Forget about your sleeping bag – Don’t use o winter sleeping bag (a yoga mat or inflatable mattress might be a good alternative).
Step 4 - Insulate your tent for AC
Regardless of your preferred option, it would be best if you considered insulating your tent to improve your equipment’s performance.
The last thing you want is to bring your ac to your trip and see that it is not cooling your tent down because of the tent’s insulation. How can you insulate a tent for an AC?
Easy – we have prepared special and easy tips for you in this article, but in summary you should:
Use a heavy-duty tent tarp
Use Duct tapes and/or Pool noodles to suppress any air leakage points
Insulate your tent floor
Cover your tent with thermal blankets
Consider an insulated fabric for your tent, such as canvas.
Step 5 - Turn on the equipment and enjoy the cold breeze
Connect the equipment to the power and turn it on – that is it – You are ready to have a cozy night!
A Couple of final suggestions and points to consider:
Keep your tent doors close while you have the equipment turned on to maintain the cold breeze inside it
If possible, disassemble your tent during the day to avoid warm air retention
Overall, canvas tents, such as Kodiak Basic Canvas (shown below), have better breathability and insulation features.
Overall, we DO NOT recommend adding an ac port to your tent if you don’t have any prior experience – you might permantly damage it.
If you can handle scissors, duct tapes, and special glue well and want to try it, the video below show a step-by-step guide.
Conclusion
Air Conditioning a tent is easier and cheaper than you think. You won’t need to spend too much time and money to improve your summer camping days.
However, ensure that you have the proper equipment and gear to allow a comfortable trip. Following the five steps mentioned above, you will not have any problems in refrigerating your shelter:
Step 1 – Check which equipment size/output you need (BTU)
Step 2 – Choose the equipment that suits you better.
Step 3 – Prepare your tent for your AC device
Step 4 – Insulate your tent
Step 5 – Turn on the equipment and enjoy the cold breeze
If you have any doubts, please do not hesitate to contact us.
debitis et blanditiis rerum voluptatibus sit atque vero velit sapiente ad expedita enim ex et dolores ab. sit quis dolore quia voluptatem nesciunt ipsa omnis voluptatem dolorem quibusdam dolores susci

debitis et blanditiis rerum voluptatibus sit atque vero velit sapiente ad expedita enim ex et dolores ab. sit quis dolore quia voluptatem nesciunt ipsa omnis voluptatem dolorem quibusdam dolores susci
Your comment is awaiting moderation.