Top-4 Camping Grill-Stove combo to easily cook DELICIOUS meals!
Best for backpackers

CAMPMAX Wood stove-grill combo
- Lightweight and extremely affordable
9.1
Check Price Most Versatile

Coleman Hyperflame Stove-Grill Combo
- Versatility to change from grill to stove is second to none!
9.3
Check Price 
Budget-friendly option
- Material: Alloy Steel
- Item Dimensions: 25.5 x 8 x 17.3 inches
- Weight: 14.35 Pounds
Backpacking / Hiking Option
- Material: Stainless Steel
- Item Dimensions: 7.8 x 7.8 x 10.6 inches
- Weight: 5.5 Pounds
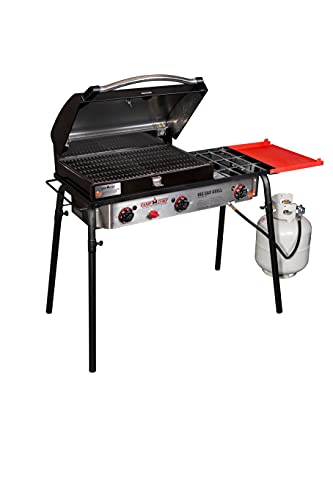
Highest BTU output
- Material: Alloy Steel
- Item Dimensions: 15.75 x 24 x 7 inches
- Weight: 85 Pounds
Best 3-in-1 option
- Material: Steel
- Item Dimensions: 11.64 x 6.17 x 6.22 inches
- Weight: 21.6 Pounds
Best 3-in-1 option
- Material: Steel
- Item Dimensions: 11.64 x 6.17 x 6.22 inches
- Weight: 21.6 Pounds